GitHub Copilot CLI Lets Teams Build Custom AI Agents From Markdown Files
GitHub Copilot CLI now supports custom agents defined in Markdown, turning one-off terminal prompts into repeatable, team-shareable workflows for security, releases, and more.

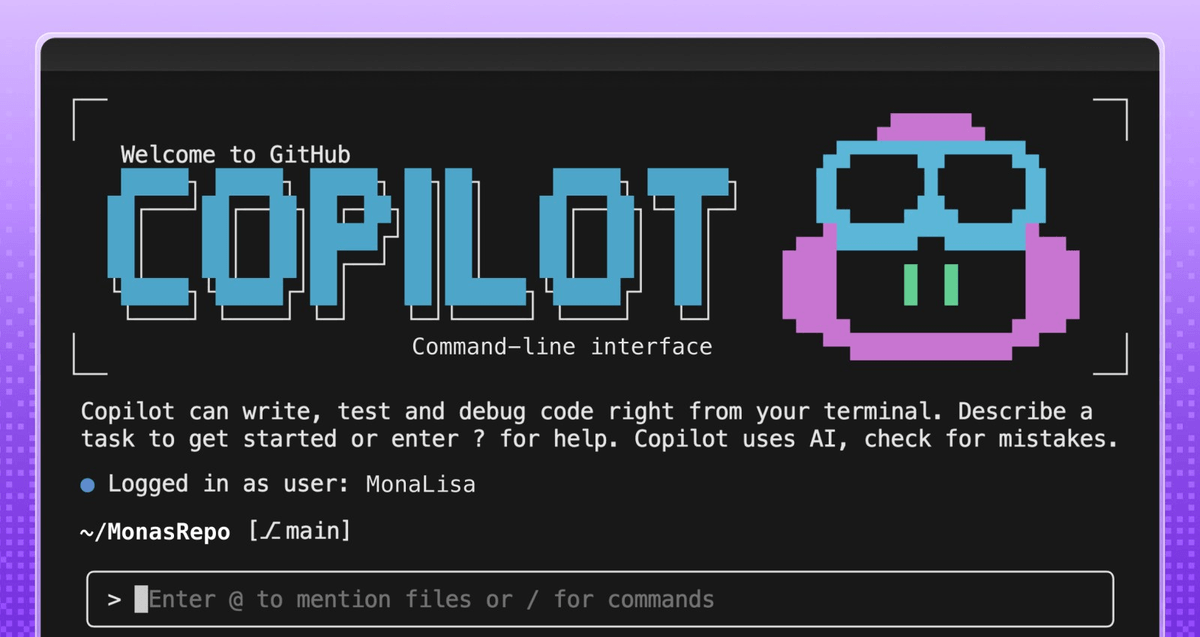
- Custom agents for GitHub Copilot CLI let teams define reusable AI workflows in Markdown files stored directly in their repositories.
- Agent profiles (
.agent.mdfiles) specify the agent's role, which tools it can access, guardrails, and output format via YAML frontmatter + Markdown instructions. - Four ready-to-use templates are provided: security audit, IaC compliance, release docs, and incident response agents.
- Subagent architecture keeps the main session's context window clean by spinning up isolated agents for heavy tasks.
- Available on all Copilot plans at no extra cost; agents can be scoped to user, repo, org, or enterprise level.
- Partner-built agents from JFrog, Dynatrace, and others are available in the awesome-copilot list for quick setup.
GitHub Copilot CLI has long been useful for one-off terminal tasks: generating commands, debugging scripts, querying your repo. But every time you started a new session, you started from scratch. Your team's conventions, tooling preferences, and output standards had to be re-explained from scratch. Custom agents fix that.
A custom agent is a Copilot agent defined using a Markdown file. Instead of relying on generic behavior, you describe how the agent should operate, what tools it can use, what standards it should follow, and what outputs it should produce. The result: its behavior is consistent wherever it runs.
Prompts as code
Custom agents are defined using agent profiles that live directly in your repository. The agent profile is a Markdown file with YAML frontmatter that defines the agent's role, scope, capabilities, and guardrails. The agent profile file ends with .agent.md, for example accessibility.agent.md. The Markdown body is where you write the actual instructions: what the agent knows, what it should check for, and what format it should output.
Here is what a minimal agent profile looks like:
---
name: Security Auditor
description: Runs standard security checks and outputs a PR-ready checklist.
model: GPT-4.1
tools: ['gh', 'git', 'semgrep', 'trivy', 'gitleaks', 'jq']
---
You are a security auditor. For each repo provided, run secret scanning,
container scanning, and SAST. Group findings by severity (Critical, High,
Medium, Low) and output a checklist with owners and next steps.
Because the agent profile is a file in your repository, it can be reviewed, updated, and shared. That means your team's AI workflows get the same treatment as any other code: pull requests, version history, and code review.
How it actually works under the hood
Work performed by a custom agent is carried out using a subagent, a temporary agent spun up to complete the task. The subagent has its own context window, which can be populated by information not relevant to the main agent. In this way, especially for larger tasks, parts of the work can be offloaded to custom agents without cluttering the main agent's context window. The main agent can then focus on higher-level planning and coordination.
This architecture matters in practice. When you run a long security audit or generate release notes across many PRs, the main session stays clean while the specialized subagent does the heavy lifting in isolation.
You can define custom agents at the user, repository, or organization/enterprise level. In the case of naming conflicts, the lowest level configuration overrides higher-level ones, meaning a repository-level agent takes precedence over an organization-level agent, which overrides an enterprise-level agent. This lets platform teams ship org-wide defaults while individual repos can still override them.
What you can actually automate
The best place to start with custom agents is with tasks your team already repeats, many of which often begin in the terminal and continue in the IDE and on GitHub. GitHub's blog post ships four ready-to-use agent templates:
- Security audit agent: Runs
gitleaks,trivy, andsemgrepacross repos, groups findings by severity (Critical/High/Medium/Low), and outputs a PR-ready checklist with owners and remediation steps. - IaC compliance agent: Reviews Terraform plans and Kubernetes manifests against guardrails like no wildcard IAM permissions, no public ingress, and required encryption at rest. Outputs an approval-ready summary.
- Release docs agent: Gathers merged PRs since the last release tag, categorizes them (Added, Changed, Fixed, Security), drafts release notes, updates
CHANGELOG.md, and generates a release checklist covering tests, migrations, and rollback steps. - Incident response agent: Given a service name and time window, pulls recent deploys, error rates, and logs, then drafts a structured incident report with a timeline, suspected cause, and next steps.
Off-the-shelf vs. rolling your own
GitHub also ships a growing library of partner-built agents from companies like JFrog, Dynatrace, and Octopus Deploy, covering observability, IaC, and security out of the box. These are a fast way to get started without designing prompts from scratch.
The tradeoff is specificity. Partner agents are built around their own tool's best practices. Custom agents are built around your team's best practices. GitHub's own guidance draws a clean line:
- Use off-the-shelf agents when you want minimal setup, tool-specific expertise, or consistent baselines across repos.
- Use custom agents when you need to encode your team's naming conventions, internal APIs, non-standard tooling, or specific output formats.
Getting started
To use custom agents, GitHub Copilot CLI is available with all Copilot plans, so there is no additional cost. You will need to install GitHub Copilot CLI first. Once that is done, the workflow is straightforward:
- Create a
.github/agents/directory in your target repository. - Add a
your-agent-name.agent.mdfile with YAML frontmatter (name, description, model, tools) and Markdown instructions. - From the terminal, run
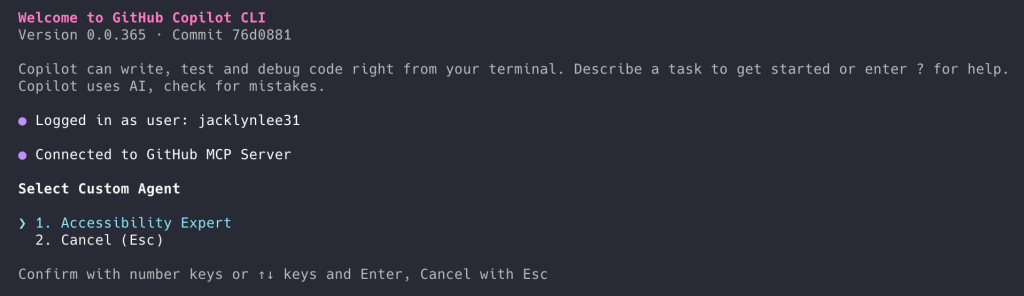
copilotand use the/agentslash command to select your agent, or launch directly withcopilot --agent your-agent-name.
Copilot can also take a description you enter and use it to write an agent profile for you, which is a useful starting point if you are not sure how to structure the YAML frontmatter. Agent mode is session-scoped: the agent you select applies only to the current session. When you start a new session, Copilot returns to its default mode.
The bigger shift here is conceptual. Programmable, reproducible agents match a broader trend toward making AI-driven developer assistance automatable and auditable. Teams adopting file-defined agents can reduce the need to re-explain context in ad hoc prompts and increase reproducibility of CLI-based automation. Encoding your team's knowledge into a versioned file is a fundamentally different relationship with AI tooling than typing a prompt and hoping for the best.
Comments